If you’re planning to start working out at home and have your eye on those suspension trainers, they might actually be all you need. But to figure out whether it’s a good option for beginners, if it really works, and what a solid suspension trainer workout plan should look like, we’ve covered all of these topics in this blog post. Let’s get started.
Key Takeaways
A suspension trainer can truly transform your home workouts. It’s simple, effective, and flexible enough to match any fitness level.
- Suspension trainers are beginner-friendly and allow you to adjust difficulty easily by changing your body angle.
- Proper setup matters. Anchor your trainer securely using a bar, door, or sturdy outdoor option to stay safe and get a full range of motion.
- Form is everything. Keep your body in a straight line from head to heels for maximum muscle engagement and better results.
- You can use it in two ways: as your main workout tool for full-body training, or as a progression tool to master bodyweight exercises like push-ups and pull-ups.
- Warm up before every session to prevent injury and prepare your body for better performance.
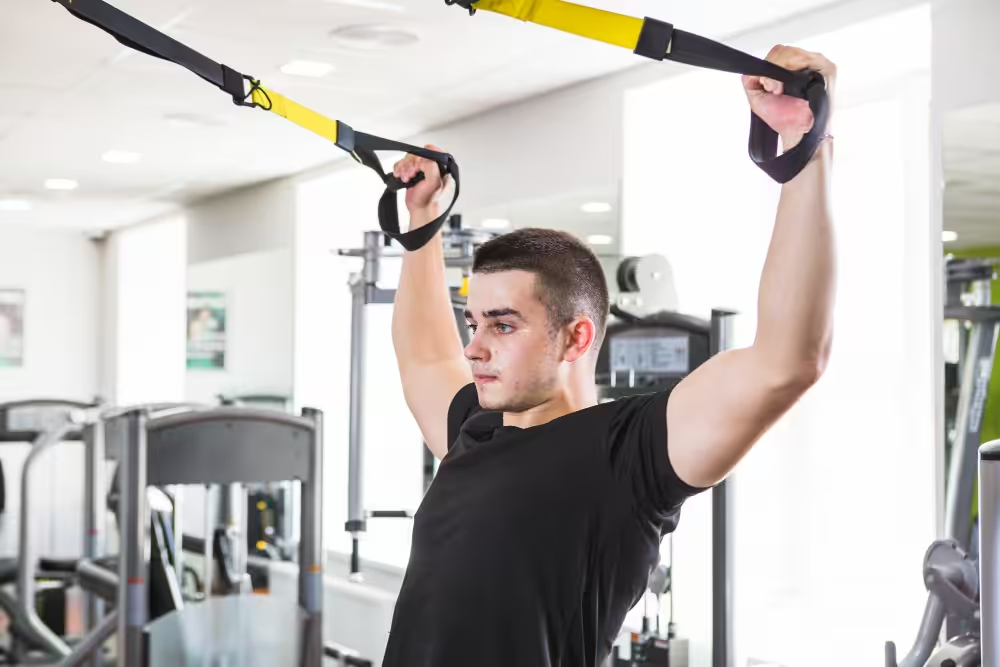
Why Suspension Trainers Are Great?
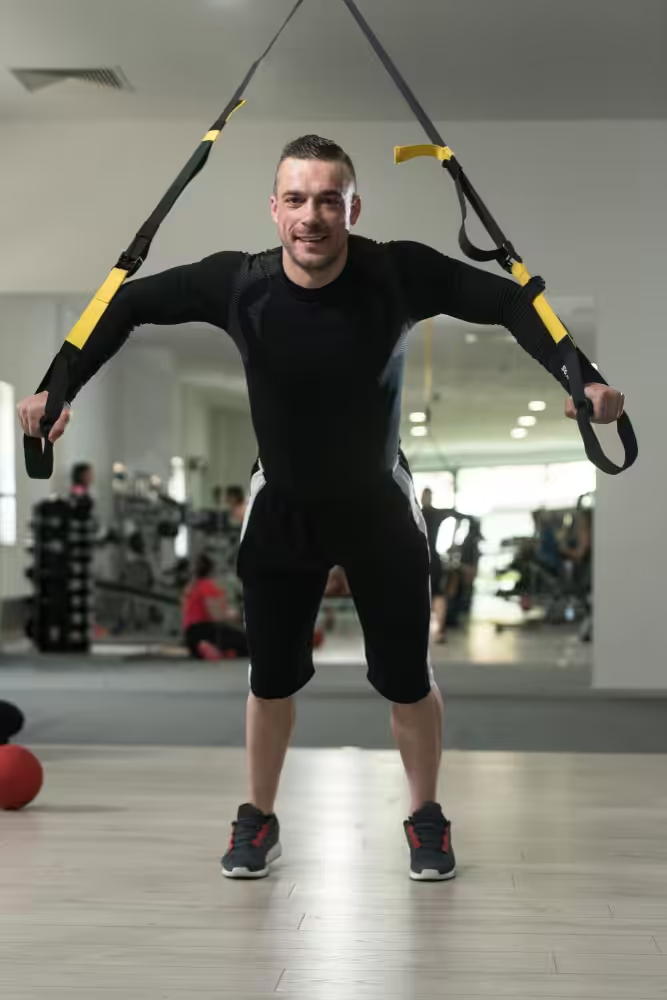
One of the best things about suspension trainers is how easily you can control the difficulty of any exercise. The angle of your body does all the work. The more you lean into the straps, the more of your body weight you’re lifting, so the exercise becomes harder.
This simple adjustment lets you scale every exercise to your current fitness level without needing extra equipment or weights. As you get stronger, you just change your position slightly, and suddenly the same move feels challenging again. With these kinds of adjustments, you can keep progressing while working out at home.
How to Set Up Your Suspension Trainer
Depending on what you have available, here are a few methods to anchor your suspension trainer:
- Bar Anchor (Best Option): Mount your suspension trainer to a sturdy bar positioned above your head. This setup gives you the best range of motion.
- Door Anchor (Simple and Convenient): If you’re training at home, a solid door can also do the job. Make sure it’s stable, closes firmly, and can support your weight. For extra safety, use a door that opens away from you when the straps are pulled.
- Outdoor Anchor (Tree or Beam): If you like training outdoors, wrap the straps around a solid tree branch, playground bar, or sturdy beam. And always check stability before you start.
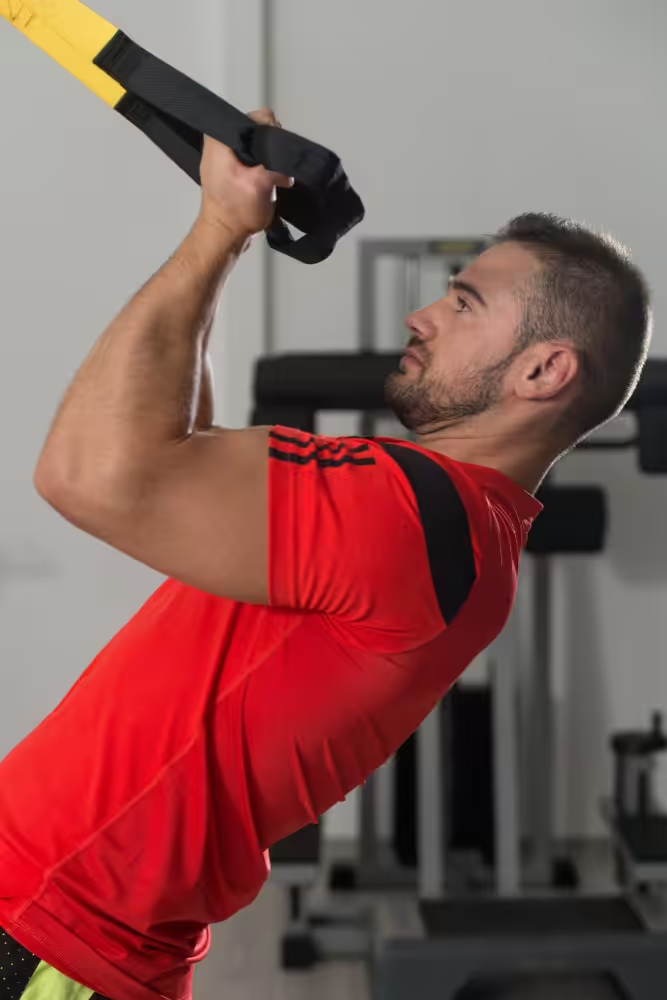
Key Tip for Better Muscle Engagement
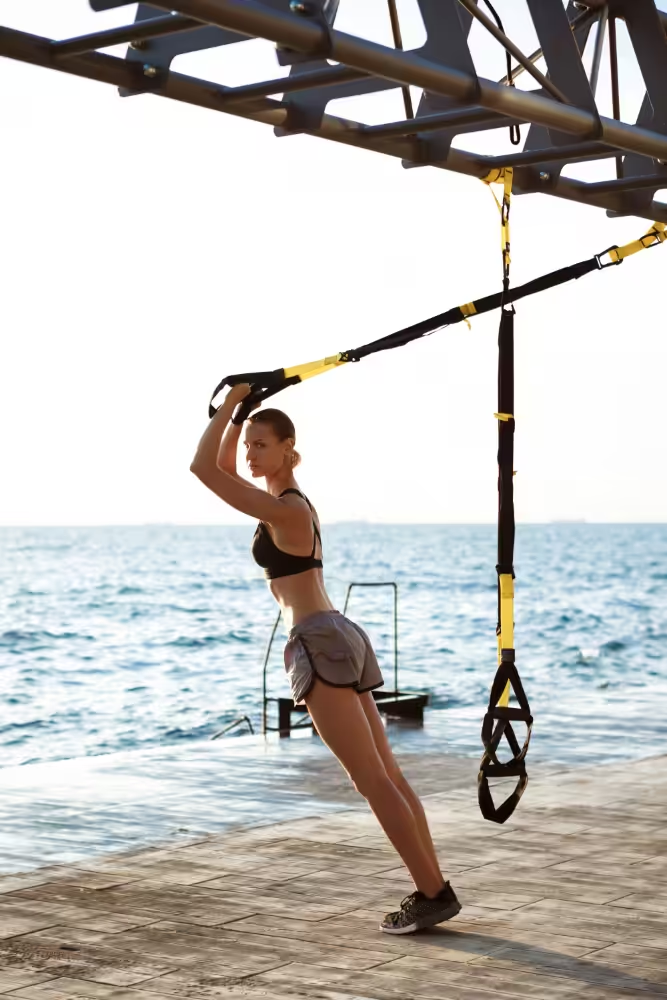
To get the most out of each move, focus on keeping your body in a straight line from head to heels.
When you step closer to the anchor point, the exercise becomes more challenging because you’re using more of your body weight. That’s great. But don’t let your body curl or your hips drop. Keep your spine neutral and your core tight to maintain tension in the right muscles.
If it feels too tough to hold that straight line, simply move a little farther away from the anchor. A more upright position instantly makes the exercise easier while still keeping your form solid and safe.
How Can You Use a Suspension Trainer?
A suspension trainer can serve as your main piece of equipment or as a smart way to progress toward more advanced bodyweight exercises.
The Main Exercise Tool
If you want a simple but effective home workout setup, a suspension trainer can easily be your go-to choice. You can perform a wide range of exercises that target major muscle groups like your chest, back, legs, and core.
With one piece of gear, you can train your entire body and keep your workouts efficient and challenging.
The Progression Tool
If your goal is to improve your push-ups, pull-ups, or other bodyweight movements, the suspension trainer is a great stepping stone.
Since the difficulty depends on your body position, you can adjust the angle to make each exercise easier or more challenging while keeping perfect form.
This helps you build strength and control that will carry over to the real pull-up bar or floor exercises. It is an ideal way to progress if you are just starting out with calisthenics.
Suspension Trainer Workout Plan
If you are new to suspension training, your workout plan should stay simple. There is no need for flashy, complex moves that combine multiple exercises at once. The basic movements are effective for a reason — they are stable, easy to learn, and help you build solid strength and control.
A great way to structure your suspension trainer routine is to follow a simple three-day split. For example:
- Day 1: Chest and Triceps
- Day 2: Back and Biceps
- Day 3: Legs and Shoulders
Chest and Triceps
Chest Press 4×10-12
- Face away from the anchor and hold the handles at chest height.
- Keep your body in a straight line from head to heels.
- Lower your chest slowly toward your hands, then press back to start.
- Step forward to make it harder or stand taller to make it easier.
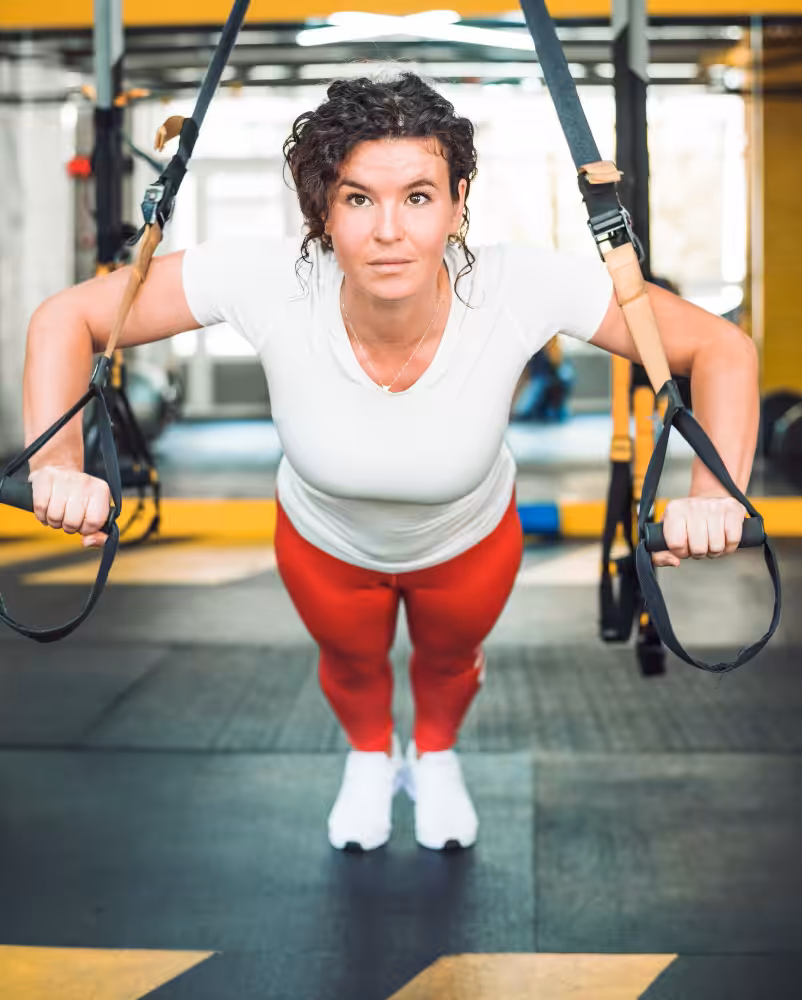
Chest Fly 4×10-12
- Face away from the anchor with arms straight in front of you.
- Lower your body by opening your arms wide until you feel a chest stretch.
- Keep a slight bend in your elbows and bring arms back together using control.
Triceps Extension 4×10-12
- Face the anchor with arms extended in front of you.
- Bend your elbows to lower your body, keeping them tight beside your head.
- Push back through your palms to return to start.
- Maintain a straight body line throughout the movement.
Dips 3×10
- Hold the straps by your sides and lean slightly forward.
- Lower your body by bending your elbows until they reach about 90 degrees.
- Push yourself back up while keeping shoulders down and chest slightly forward.
Advanced: Feet-Elevated Push-Ups (Feet in Straps)
- Place feet in straps and hands on the floor.
- Perform a controlled push-up, keeping your body stable.
- This variation targets the upper chest and core for greater intensity.
Back and Biceps
Inverted Rows 4×10-12
- Face the anchor and hold the handles with palms facing in.
- Keep your body straight and pull your chest toward the handles.
- Squeeze your shoulder blades together, then lower with control.
Side Row (Alternating Sides) 4×10-12
- Start in a close-grip position with hands near your stomach.
- Pull one hand toward your ribcage while the other stays extended.
- Alternate sides on each rep for a balanced back and core workout.
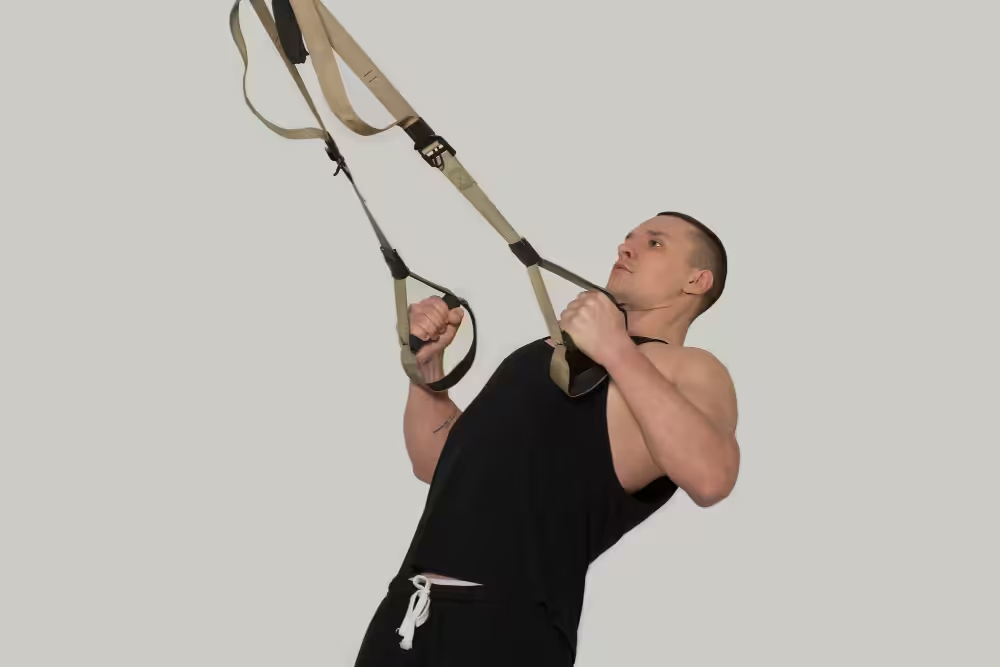
Chin-Up Pulls 4×10-12
- Use an underhand grip and lean back with your body straight.
- Pull yourself upward by driving your elbows down and back.
- Focus on squeezing your biceps at the top.
Biceps Curl 3×10-12
- Face the anchor and lean back slightly with palms facing up.
- Keep elbows high and curl hands toward your forehead.
- Lower with control and keep your core tight.
Advanced: Lat Pull
- Position yourself almost in a seated angle with arms overhead.
- Pull the handles down toward your shoulders, engaging your lats.
- Keep the movement smooth and avoid jerking the straps.
Legs and Shoulders
Squats (Assisted or Unassisted) 4×10-12
- Hold the handles in front of you with feet shoulder-width apart.
- Lower your hips back and down, keeping heels flat and chest up.
- Use the straps for balance but avoid pulling with your arms.
Y Fly (Shoulders) 4×10-12
- Face the anchor and lean back slightly.
- With straight arms, raise your hands overhead into a “Y” shape.
- Focus on your shoulders and upper back rather than your traps.
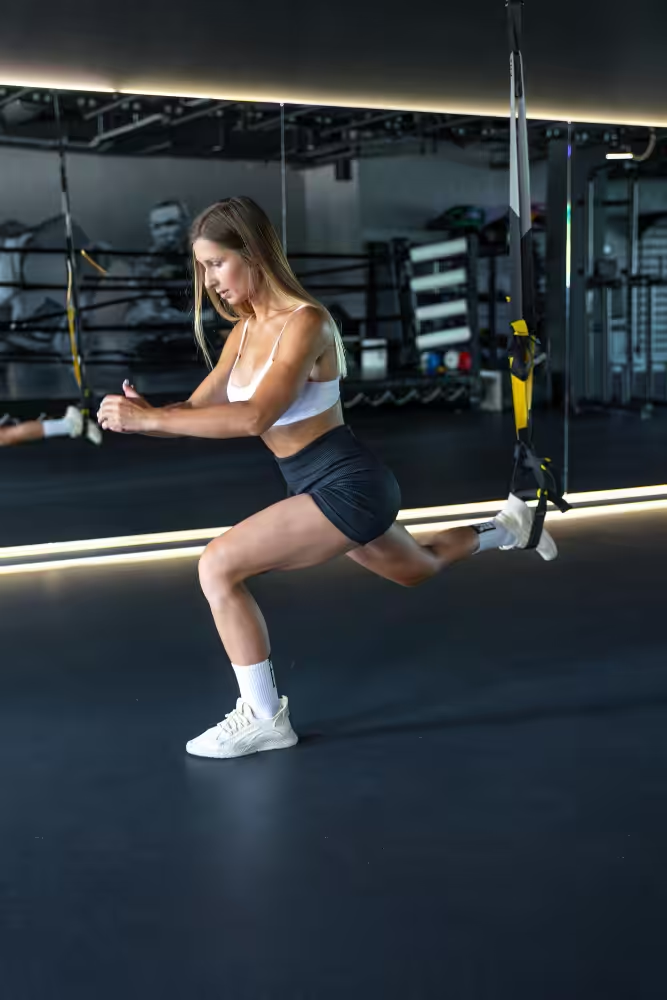
Lunges (One Foot in Strap) 4×10-12 per leg
- Place one foot in the strap behind you.
- Lower your back knee toward the ground, keeping the front knee above the ankle.
- Push through the front heel to return to the starting position.
Advanced: Pistol Squats
- Stand on one leg while lightly holding the straps for balance.
- Lower into a single-leg squat, keeping your other leg extended forward.
- Push through your heel to return to standing.
- Excellent for developing balance, control, and leg strength.
Keep in Mind:
Your front shoulders already get plenty of work during pressing and chest exercises. This workout example for leg and shoulder day focuses more on rear (posterior) and side (lateral) shoulders to balance your strength and posture.
FAQ
Can suspension training replace the gym?
For many people, yes. It covers strength, stability, and flexibility in one setup. If your goals are general fitness, toning, or improving performance, a suspension trainer can completely replace most gym equipment.
Do I need to warm up before my workout?
Yes, always warm up before training. A proper warm-up gets your muscles ready, boosts circulation, and helps prevent injuries. You don’t need anything complicated; just get your body moving.
Try doing a few minutes of jumping jacks, arm circles, or bodyweight squats to raise your heart rate. Then, include lighter versions of the movements you’ll be performing in your workout that day.
When can I work abs with this type of workout?
You can train your abs about two times a week. You don’t need to use a suspension trainer for ab exercises. There are plenty of effective moves you can do on the floor.
You can add them at the end of your main workout or do them as a separate quick core session. The key is consistency, not duration. Even a 10-minute focused ab workout can make a big difference over time.
Is a Suspension Trainer Good for Fat Loss?
Any workout can support fat loss as long as you’re in a caloric deficit (you burn more calories than you consume).
However, if your main goal is weight loss, you’ll see faster results by combining suspension training with cardio and a balanced diet. Even something simple like 10,000 steps a day can make a noticeable difference when paired with smart eating and regular training.