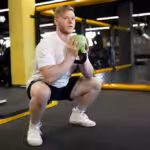
Sandbags aren’t fancy, but they’re brutally effective. Unlike barbells or dumbbells, the weight shifts and fights you the whole way, and makes even basic lifts feel tough. That awkwardness is exactly what builds real-world strength, grip power, and stability.
Key Takeaways
Sometimes, the most awkward tools build the most functional power.
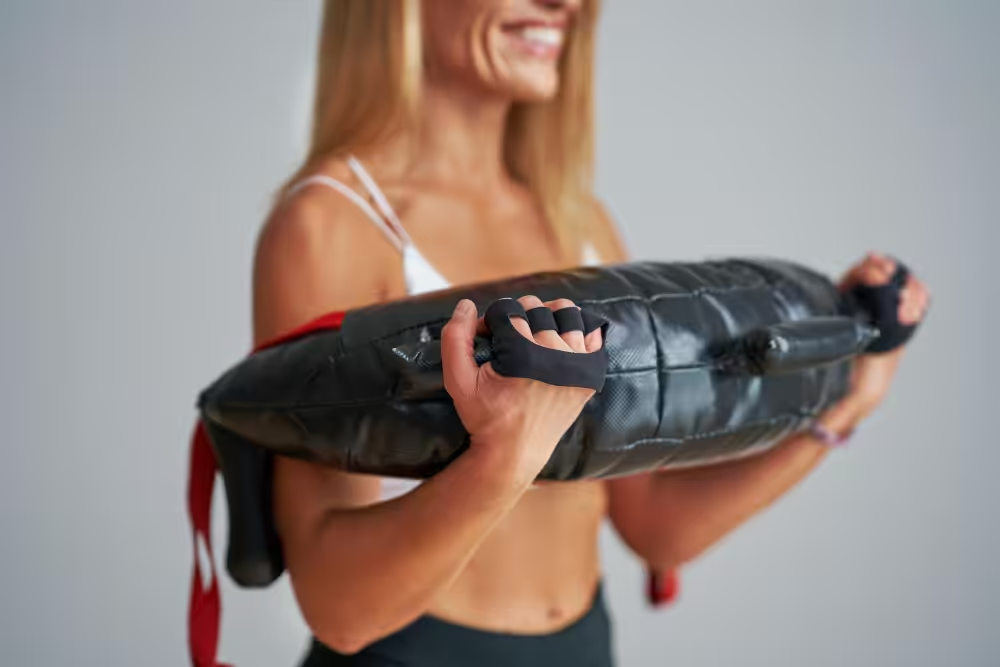
- Sandbags come in two types: with handles (beginner-friendly) and without (harder, more raw).
- They differ from barbells and dumbbells because the weight shifts constantly, forcing stabilizers and grip to work harder.
- Best suited for athletes, first responders, and functional fitness fans, but useful for anyone wanting variety.
Types of Sandbags
You can look at sandbags as those with handles and those without handles. Depending which one you choose and what you have at your disposal will also affect the type of exercises that you can do.
Sandbags with Handles
These are the beginner-friendly option. Thanks to the built-in grips, they’re easier to hold, maneuver, and stabilize. They’re usually on the lighter side.
All of this makes them great for learning form or adding variety to traditional exercises like squats, presses, or lunges. If you’re just starting out, this style lets you focus more on movement and less on fighting against the bag slipping out of your hands.
Sandbags without Handles
These are the ones you’ve probably seen tossed around in hardcore training videos. Big, smooth, and heavy. Without handles, the bag instantly becomes more awkward to control.
That “awkwardness” is the whole point: it forces your stabilizers to work overtime, challenges your grip strength, and makes even simple lifts feel brutal.
What is the Difference Between Sandbags and Barbells/Dumbbells?
At the end of the day, weight is weight. Whether you’re holding a barbell, a dumbbell, or a sandbag. But the way that weight feels in your hands makes all the difference.
With barbells and dumbbells, the load is balanced and predictable. You get more control, which makes it easier to isolate and target specific muscle groups. That’s why these tools are staples for building strength in a structured, straightforward way.
Sandbags are a whole different thing. They’re awkward, constantly shifting, and refuse to sit still. That unorthodox feel forces you to stabilize every rep, recruit more muscles at once, and think about your movement in a way that polished gym equipment never demands.
Who Should Use Sandbags Over Traditional Weights?
Here are a few examples of people who may find them especially useful:
- Athletes in Contact Sports: Football, wrestling, MMA, rugby… these sports are all about dealing with unpredictable force. Sandbags mimic that chaos.
- First Responders & Military Personnel: Firefighters, soldiers, and police officers often need to lift, drag, or carry odd-shaped loads. Training with sandbags builds that real-world strength.
- Functional Fitness Enthusiasts: If you care less about aesthetics and more about “everyday power”, sandbags will humble and help you.
- People Looking for Variety: Sometimes, adding a new challenge keeps training fun and prevents plateaus. Sandbags fit that bill perfectly.
That said, if your main goal is building bigger muscles and a more aesthetic body, traditional weights are still your best bet.
Even if you fall into one of the groups above, sandbags should be an addition, not the foundation of your training. Relying on them exclusively would leave big gaps in your progress.
15 Must-Try Sandbag Exercises
Sandbags open up a whole world of movements that feel raw, unpolished, and brutally effective. Here are some of the best exercises to try:
1. Lift from the Ground
The classic test of raw strength. Picking up a sandbag looks simple, but the shifting load makes it far trickier than a barbell deadlift.
How to do it:
- Stand over the sandbag with feet shoulder-width apart.
- Squat down, grip the bag tightly from underneath or the sides.
- Drive through your legs and hips while keeping your back straight.
- Pull the bag close to your body as you stand tall.
Why it’s good:
Works your posterior chain (glutes, hamstrings, lower back), core, and grip strength. Builds functional power for real-life lifting.
Pro tip:
Start lighter than you think. Even a 50 lb sandbag can feel like 80 because of the instability.
2. Bear Hug Carry
Deceptively brutal. Hugging a sandbag to your chest and walking feels simple until your lungs, grip, and core are on fire.
How to do it:
- Lift the bag from the ground and lock your arms around it.
- Stand tall, brace your core, and keep your chest up.
- Walk steadily for a set distance or time.
Why it’s good:
Hits your grip, arms, core, back, and cardio endurance. Great for building real-world strength.
Pro tip:
Don’t round your back forward. Keep your posture tall and shoulders pulled back to save your spine.
3. Shoulder Press
Two battles in one. First, get the bag up to your shoulders. Then, press it overhead while fighting its constant shift.
How to do it:
- Deadlift the sandbag off the ground.
- Clean it to your shoulders (hug it or flip it depending on size).
- From the front rack position, drive it overhead until arms are locked.
- Control the descent and repeat.
Why it’s good:
Builds shoulder strength, pressing power, and core stability under instability. Unlike barbells, no two reps feel exactly the same.
Pro tip:
With lighter bags, go for higher reps. With heavy bags, focus on explosive drive but never sacrifice form.
4. Shoulder Carry
The lumberjack move. Hauling a sandbag on one shoulder tests strength and balance in ways barbells never can.
How to do it:
- Lift the sandbag from the ground.
- Position it securely on one shoulder.
- Keep your core braced and walk for distance or time.
- Switch shoulders each round.
Why it’s good:
Trains unilateral strength, core stability, posture, and grip. Mimics real-world “awkward carries” (like hauling luggage, gear, or logs).
Pro tip:
If the bag slips, don’t fight it awkwardly. Drop and reset. It’s always better to start an exercise over again than strain your back.
5. Sandbag Over the Shoulder
Explosive and satisfying. This movement combines a lift with a controlled throw, forcing your hips and upper body to work as one.
How to do it:
- Stand over the sandbag and squat down.
- Scoop it up with both arms and drive through your hips.
- Roll or toss the bag over one shoulder, letting it drop behind you.
- Reset and repeat on the other side.
Why it’s good:
Develops hip drive, explosive power, grip strength, and conditioning. A great entry point before heavier carries.
Pro tip:
Use this as a conditioning circuit. Aim for reps over time instead of max weight.
6. Sandbag Snatch
A fast, explosive move. It’s similar to the Olympic lift.
How to do it:
- Stand with feet shoulder-width apart, sandbag between your feet.
- Grip the handles (lighter bag recommended).
- In one explosive motion, drive through your legs and hips, pulling the sandbag up.
- Flip and extend your arms to bring it overhead in one smooth movement.
Why it’s good:
Builds power, speed, and coordination while engaging the entire body. Less technical than a barbell snatch, but just as demanding on explosiveness.
Pro tip:
Stick to lighter bags for snatches. Heavy, floppy sandbags will wreck your form and your shoulders.
7. Clean and Squat
Two classics rolled into one. A sandbag clean into a squat will leave your whole body smoked.
How to do it:
- Start with the bag on the ground.
- Deadlift and “clean” it onto your forearms or chest.
- From the front rack position, drop into a controlled squat.
- Return to standing, then lower the bag back down.
Why it’s good:
Targets legs, glutes, core, and upper body while forcing you to control the bag at every stage. Great for building raw functional strength.
Pro tip:
Hug the bag tight to your chest during the squat. If it drifts forward, your back will carry the weight.
8. Lunge with a Twist
A lunge with a sneaky core killer. Adding a sandbag twist makes this far more than a leg exercise.
How to do it:
- Step into a lunge with the sandbag on the side of your back leg.
- While holding the lunge position, rotate the bag across your body to the opposite side.
- Return to the starting position and repeat on the other leg.
Why it’s good:
Trains legs, glutes, balance, and rotational core strength. Especially useful for athletes who move and pivot in multiple directions.
Pro tip:
Keep your torso tall. Don’t let the sandbag pull you into leaning forward as you twist.
9. Chest Press
The bench press without the bench. Simple, raw, and harder than it looks when the weight shifts.
How to do it:
- Lie flat on your back, sandbag resting on your chest.
- Grip the bag tightly with both hands.
- Press it straight up until arms are extended.
- Lower it back to your chest under control.
Why it’s good:
Hits your chest, triceps, and shoulders like a bench press, but the instability adds extra engagement from stabilizers.
Pro tip:
If the bag rolls, don’t panic. Guide it back down slowly. A wider grip helps keep it steady.
10. Sandbag Squats
The king of leg work, done the messy way. Holding a shifting load against your chest turns every squat into a full-body challenge.
How to do it:
- Clean or hug the sandbag up to your chest.
- Stand tall with feet shoulder-width apart.
- Drop into a controlled squat, keeping chest up and core braced.
- Drive back to standing, bag held firmly against your body.
Why it’s good:
Strengthens quads, glutes, hamstrings, and core while teaching your body to stabilize under awkward weight.
Pro tip:
Keep the sandbag snug against your upper chest. If it drifts forward, your form (and knees) will suffer.
11. Plank with Swipes
Swiping a sandbag under your body adds rotation and instability that torches your core.
How to do it:
- Get into a high plank position, hands under shoulders.
- Place the sandbag just outside your right hand.
- With your left hand, drag it under your body to the left side.
- Reset your plank and repeat with the opposite arm.
Why it’s good:
Strengthens core stability, shoulders, and obliques, while training you to resist rotation. Perfect for athletic performance and back health.
Pro tip:
Keep your hips slightly higher than a normal plank.
12. Glute Bridges
Adding a sandbag makes this classic move far more punishing.
How to do it:
- Lie on your back with knees bent, feet flat.
- Place the sandbag across your hips.
- Drive through your heels, squeezing glutes to lift hips.
- Lower slowly, then repeat.
Why it’s good:
Builds glute and hamstring strength, improves hip drive, and helps protect your lower back. Great for athletes and anyone sitting too much.
Pro tip:
Try this advanced variation: hold the sandbag above your chest and rotate it side-to-side while bridging, turning it into a hybrid glute and core move.
13. Sprints with Sandbag
Sprinting is already tough. Add a sandbag and you’ll feel like you’re dragging a parachute uphill.
How to do it:
- Place a lighter sandbag securely on your back or shoulders.
- Sprint for a set distance or time, maintaining good form.
- Rest, then repeat.
Why it’s good:
Boosts power, conditioning, and explosiveness. Weighted sprints transfer directly to athletic performance and will make you faster and stronger.
Pro tip:
Skip this if your bag is too heavy or floppy.
14. Sandbag Swings
Like kettlebell swings, but way messier. The shifting bag makes your hips and grip work double-time.
How to do it:
- Stand with feet hip-width apart, sandbag on the ground.
- Grab the handles.
- Hinge at the hips, swing the sandbag back between your legs.
- Explosively thrust hips forward to swing it to chest height.
Why it’s good:
Develops hip power, glutes, hamstrings, and conditioning. A fantastic explosive movement if you have the right sandbag.
Pro tip:
Only attempt with a handled sandbag.
15. Bent-Over Rows
Back day, the gritty way. A straightforward pull that strengthens your upper back while teaching you to control instability.
How to do it:
- Stand with feet shoulder-width apart, holding the sandbag in front of you.
- Hinge forward at the hips until your torso is nearly parallel to the ground.
- Pull the sandbag toward your torso, squeezing your shoulder blades together.
- Lower under control and repeat.
Why it’s good:
Targets lats, rhomboids, and traps while improving posture and pulling strength.
Pro tip:
Best done with a bag that has handles.
FAQ
How heavy should my sandbag be to start?
For beginners, 30-50 lbs is plenty. Sandbags feel heavier than their actual weight, so starting lighter is the best way until you build up strength and figure out the form.
Can I make my own sandbag at home?
Yes. Many people fill a heavy-duty duffel bag or contractor bag with sand, gravel, or even rubber mulch. Just make sure it’s sealed tightly (double-bag it if needed) so it doesn’t leak. Commercial sandbags are more durable, but DIY can also work.
What muscles do sandbags work?
Pretty much everything. Sandbag lifts recruit major muscle groups like legs, glutes, back, shoulders, and core. While also hammering stabilizers, grip, and balance that don’t get as much work with barbells or machines.
Can sandbag training replace the gym?
It depends on your goals. If you’re training for strength and muscle size, traditional weights are more efficient. But if you want functional fitness, conditioning, and everyday strength, sandbags can absolutely help.